
Last updated October 17, 2026
 Architectural shingles
 Metal roofing
 Tile roofing
 GAF
GAF Flat & low-slope
Free roof inspection with deck photos before we talk money - GAF and Owens Corning certified installation
Roof Repair Maintenance Checklist for San Antonio Homeowners
The average insurance adjuster spends 22 minutes on a roof inspection. The average San Antonio homeowner spends zero, until water is already dripping through the ceiling drywall. A lot of expensive damage happens in the gap between those two moments. Granule loss, flashing creep, soffit rot, and UV-baked pipe boots all build silently between storms. None of them announce themselves. This checklist tells you exactly what to look for from the ground and from inside your attic, four times a year, without ever putting a ladder against the house. It costs nothing to follow and catches most roof problems while they’re still cheap to fix with Roof Repair.
Styles & brands we work with
Quick Answer
A practical roof maintenance routine for San Antonio homes comes down to four focused check-ins per year: one ground-level visual sweep, one attic inspection, one gutter and downspout check, and one after-storm walkaround. In each pass, you’re looking for granule buildup in gutters, cracked or curled shingles, rusted or lifted flashing around chimneys and vents, and any sign of moisture on attic wood. Most of what a paid inspector finds can be spotted in under 20 minutes with this checklist and our more guides & resources.
Table of Contents
- The Ground-Level Checklist: What You Can See Without a Ladder
- The Attic Inspection: Where Water Shows Up First
- San Antonio UV Damage: Pipe Boots, Sealant, and Skylights
- Granule Loss in Gutters: The Earliest Sign Your Shingles Are Aging
- Flashing Inspection: Chimneys, Dormers, and HVAC Penetrations
- Your Year-Over-Year Roof Log: Documentation That Protects an Insurance Claim
- Common Mistakes to Avoid
- When to Call a Professional
- Frequently Asked Questions
- The Bottom Line
The Ground-Level Checklist: What You Can See Without a Ladder
You don’t need to get on the roof to catch most of the problems that turn into leaks in San Antonio. A pair of binoculars is the only tool required. Walk the full perimeter of your home and check the following, ideally on a clear morning when the sun is low enough to cast shadows across the shingle plane.
- Shingle curl and cupping. Look for shingle edges that lift upward or curl at the corners. This is the first visible stage of shingle failure. In San Antonio heat, it can start on south-facing and west-facing slopes years before the north side shows any wear.
- Bald spots and exposed fiberglass. Scan for patches where granules are gone and you can see a shiny or fibrous surface underneath. That’s the shingle losing its protective layer, which is the thing standing between your plywood deck and the next hailstorm.
- Sagging or wavy ridge lines. A ridge that dips or runs uneven often points to decking that has softened underneath, usually from long-term moisture trapped in the attic.
- Stains and streaking on the shingle surface. Dark streaks can be algae, which is cosmetic, but rust-colored staining near any penetration usually means metal flashing is corroding and letting water behind the shingles.
- Missing shingles or tabs. Obvious, but worth listing. After any storm with wind over 40 mph, a quick binocular pass on each slope takes five minutes. A missing tab in San Antonio doesn’t just risk water entry; it gives the next storm a starting point.
- Debris piles at roof valleys. Leaves and twigs collect in valleys and hold moisture against the shingle surface for weeks at a time, accelerating granule loss and eventually rot.
The Crestview Roofing Co San Antonio home team has walked enough San Antonio roofs to know that the south slope ages fastest on nearly every home in the city. Your ground-level check should spend the most time there. If you see anything that worries you, a Roof Repair in San Antonio estimate is free, and it’s the fastest way to know whether what you’re seeing is cosmetic or structural.
The Attic Inspection: Where Water Shows Up First
By the time water is visible on your ceiling, it has already been inside your home for a while. The attic is where most roof problems announce themselves weeks or months before the drywall shows it. Go into the attic on a hot San Antonio afternoon, turn off the lights, and look up. You should see no light coming through the roof deck. Then do these checks.
- Look for moisture stains on the underside of the roof deck. These show as dark rings or discolored streaks on the plywood or OSB. They’re usually oldest toward the top and newest toward the bottom, tracing the path water traveled.
- Check for daylight at penetrations. Any pipe, vent, or exhaust that passes through the roof is a potential hole. From inside the attic, those points should show no light at all. Even a pinhole of sunlight is a path for rainwater.
- Feel for damp insulation. Insulation should feel dry and puffy. If it’s matted, clumped, or feels clammy, you have moisture getting in from somewhere, even if the roof deck looks clean.
- Look for rust on exposed nails and fasteners. Nails that rust from the inside out are telling you the attic’s relative humidity is too high, which in San Antonio usually means inadequate ventilation rather than a direct leak. But both need attention.
- Check for cracked or separated rafter joints. That points to structural movement, often from foundation settling, which is common in San Antonio’s clay soil. It can also stress the roof plane and open small gaps at seams.
- Inspect the underside of the ridge vent and eaves for insect or rodent sign. Chewed wood, droppings, or nesting material means an entry point that’s also a water entry point.
In our experience, the attic check is the highest-value 15 minutes a San Antonio homeowner can spend on their roof twice a year. It finds the slow leaks that never show up in a ground check, and it gives you time to act before a $400 flashing repair becomes a $4,000 ceiling and insulation job. For attic findings that look suspicious, our Roof Installation in San Antonio team can assess whether the issue is isolated or part of a larger decking problem.
San Antonio UV Damage: Pipe Boots, Sealant, and Skylights
San Antonio gets more than 220 days of measurable sunshine a year, and the UV load on your roof is brutal. The first things to fail are not the shingles themselves. They’re the rubber and sealant products around the parts of the roof that stick up through the shingle plane.
Pipe boots, technically called roof vent pipe flashing, are the rubber collars that seal around the plumbing vent pipes that stick out of your roof. In San Antonio’s sun, that rubber bakes and cracks, usually within 8 to 12 years. When it splits, water runs down the pipe and into the house. You don’t see it from the ground, and the leak usually presents as a small stain on a ceiling near a bathroom, far from any obvious roof damage. The fix is a new boot, which is a job done in under an hour by any reputable roofer and costs a fraction of what the ceiling repair will run if you wait.
Skylights have a similar issue. The factory sealant and gaskets around the skylight frame shrink and crack under direct sun. Any skylight older than 10 years should be checked twice a year, especially if it faces south or west. Run a bead of silicone around a failing skylight and you might buy a season, but once the gasket is gone, the correct repair is to pull the skylight and reflash it.
Chimney caps and ridge vent sealant round out the list. Mortar caps crack under San Antonio’s freeze-thaw cycles, which happen more often than people think on the city’s colder winter mornings. Ridge vent nails can back out and let water in. None of these are roofing-shingle problems. All of them are roof-adjacent problems that cause water intrusion all the same.
Granule Loss in Gutters: The Earliest Sign Your Shingles Are Aging
The fastest way to know your shingles are reaching the end of their life is to look in your gutters, not at your roof. Asphalt shingles are covered with ceramic granules that block UV and protect the asphalt layer from breaking down. As a shingle ages, it sheds those granules. They wash down the roof plane and collect in the gutter.
When you lean a ladder against the gutter and scoop out a handful of debris, take a close look. If you see a thick layer of granules mixed in with the leaves, like sand at the bottom of the gutter, your shingles are degranulating faster than normal. A little granule loss in the first year or two is normal; a heavy, consistent accumulation after year 8 or 10 is an early replacement signal.
Here’s what to look for, in order of severity:
- Light dusting of granules. Normal, especially in the first two years after installation of a new roof. The manufacturing process leaves loose granules that wash off quickly.
- Noticeable granule accumulation four to five years in. Worth tracking. Clean the gutters, then check again in three months. If the buildup returns quickly, the shingles are degrading faster than the manufacturer intended.
- Granule piles the size of a quarter or larger collecting at the downspout. This is an aging roof. Not necessarily an emergency, but you’re now in the planning window for replacement rather than the call-a-roofer-next-year window.
- Bare shingle patches visible from the ground plus heavy granule runoff. The shingles have passed their useful life. A Roof Replacement in San Antonio conversation should happen before the next storm season.
We’ve inspected roofs in San Antonio where the granules filled a five-gallon bucket after one gutter cleaning. Those roofs weren’t leaking yet, but they were one solid hailstorm away from catastrophic damage. The granules in your gutters are the earliest warning system a shingle roof gives you. Reading it correctly can move a replacement from an emergency to a planned expense.
Flashing Inspection: Chimneys, Dormers, and HVAC Penetrations
Most slow roof leaks in San Antonio are not shingle failures. They’re flashing failures. Flashing is the metal strip material, usually galvanized steel, aluminum, or copper, that seals the joints where your roof plane meets something vertical: a chimney, a dormer wall, a skylight, an HVAC curb, or a plumbing vent. If the shingles are the raincoat, the flashing is the seam tape. When the seam tape fails, water gets in no matter how good the raincoat is.
Check these flashing points on every ground-level sweep, using binoculars.
- Chimney flashing. Look for rusted metal, lifted edges, cracked caulk along the top edge, or missing counter-flashing, which is the piece that goes into the mortar joint. Chimney leaks are the most common roof leak we see in San Antonio homes built before 1990.
- Dormer sidewalls. The joint where a dormer wall meets the roof plane is sealed with step flashing, one piece per shingle course. If water is getting behind a dormer wall, you’ll usually see a stain inside the room below the dormer, but from outside, look for lifted shingles at the wall line or caulk that has pulled away.
- HVAC and exhaust penetrations. These are the small square or round openings for kitchen exhausts, bathroom fans, and AC refrigerant lines. Each one needs a proper flange and seal. On the ground, look for rust stains running downhill from the penetration, which means the metal is failing.
- Valley flashing. Where two roof planes meet, the valley channel takes a high volume of water during every San Antonio storm. If the metal valley is exposed, check for rust-through. If it’s a woven or closed-cut valley, check for shingle wear in the center of the valley.
Flashing repairs are typically small, inexpensive, and fast when caught early. The problem is that most homeowners never look at the flashing points at all. A quick once-over on each ground check takes five extra minutes and catches the source of most slow leaks before they become ceiling repairs.
Your Year-Over-Year Roof Log: Documentation That Protects an Insurance Claim
The best time to document your roof is before you need to make an insurance claim. A simple dated log with photos turns a disputed claim into a clear timeline. When an adjuster asks when the damage happened, you don’t have to guess. You can show them.
Here’s the format we recommend, and it takes less than 10 minutes per check.
- Take six photos every time. One of each roof slope from the ground, one of the gutters where granules collect, and one of the attic at the worst-looking spot. Use the same vantage points every time so you’re comparing like for like.
- Name the files with the date and location. Something like “1025-south-slope.jpg” works. Consistency is more important than creativity here.
- Write three lines in a notebook or notes app. Date, what you checked, what you found. Even “no change since last check” is a useful data point.
- Log every storm that drops hail on your street. Note the date, the approximate size of the hail, and any roof photos taken within 72 hours. Insurance companies in San Antonio ask for storm dates constantly.
- Keep contractor invoices and receipts in the same folder. If you repair flashing, get a dated invoice that describes the work. If you replace three shingles, snap a photo of the finished repair.
- Note any indoor stains the first week you see them. A photo of a new ceiling stain, dated and filed, is far stronger in a claim than a vague “I noticed it a few months ago.”
This log does two things. It gives you a clear picture of how your roof is aging, and it gives you leverage if an insurance adjuster under-settles a claim. We’ve seen San Antonio homeowners recover full replacement value because they had dated photos showing gradual deterioration before a storm, which made the storm-related damage obvious by comparison. The log is free insurance on the insurance.
Common Mistakes to Avoid
- Never walking the roof after a storm. Five minutes with binoculars after any San Antonio storm with high wind or hail catches loose tabs before the next storm rips them off. Missing that window turns a $300 repair into a $900 one.
- Caulking over failing flashing instead of replacing it. Caulk is a temporary bandage, not a repair. In San Antonio’s heat, it breaks down within a season or two, and the leak returns, usually bigger.
- Cleaning gutters without checking granule levels. Cleaning gutters is good. Cleaning them without looking at what’s in them wastes the best diagnostic opportunity you have each season.
- Ignoring attic stains because “the roof isn’t leaking anymore.” A stain that’s dry today was wet once, and the condition that caused it hasn’t fixed itself. Stains mean water has entered. Water that entered once will enter again when conditions repeat.
- Waiting until fall to check the roof. In San Antonio, the roof’s biggest stress season is summer, not winter. UV damage, thermal expansion, and afternoon thunderstorms all peak between May and September. Check in late spring and again in early fall.
- Climbing onto roof slopes without proper fall protection. A ground-level and attic-level inspection catches most issues. If you feel the need to get on the roof, hire someone with the right equipment. The fall risk is not worth the $500 you might save. If you think a roof issue requires an on-roof inspection, call us. We handle that professionally so you don’t have to.
- Assuming a new roof means no maintenance. A roof installed yesterday still has flashing points, pipe boots, and valleys that need periodic checks. New roofs fail differently, but they still fail, usually at the penetrations.
When to Call a Professional
Some things this checklist can catch, and some things it can’t fix. Call a professional in San Antonio when you see water stains on the ceiling, when granule loss in the gutters is heavy enough to fill your palm, when you spot daylight through the roof deck from inside the attic, or when any flashing point shows visible rust, lift, or missing caulk. Also call after any hailstorm with stones larger than a dime, even if the roof looks fine from the ground. Hail bruising is an impact that shows up as a soft spot on the shingle, not as a visible crack, and it takes a trained eye to spot from above. Crestview Roofing Co San Antonio offers free estimates in San Antonio. Call (361) 209-8857 and we’ll put one on the schedule, with a written price before any work starts.
Frequently Asked Questions
Four times a year: once in late spring, once in early fall, once after the first extended stretch of 95-degree-plus days, and once immediately after any major storm. That cadence catches the seasonal failure modes, which in San Antonio are UV damage in summer and wind damage in spring and fall storm season. Each inspection is a ground-level or attic-level check, not a full roof walk, so the time cost is under an hour total per check.
This checklist costs nothing to follow. If you bring in a professional for a targeted repair that the checklist uncovers, most standard San Antonio roof repairs run $295 to $650. Replacing a pipe boot is typically $350 to $550. A flashing reseal around a chimney often falls between $400 and $800. A full roof replacement on a typical San Antonio home starts closer to $9,000 and climbs depending on the shingle line and roof complexity; see our Roofing Cost Breakdown: The San Antonio Homeowner’s Reference for 2026 for full details. Call (361) 209-8857 for an exact quote. Estimates are free, and the number we quote is the number you pay.
At Crestview Roofing Co San Antonio, our 365-Day Done Right Promise covers every repair we make for a full year, in writing, included with every job. If the repair fails within that year, we come back and correct it at no charge. That’s the guarantee, stated plainly. If it’s not done right, we make it right, no negotiation and no runaround.
No. The sequence in this guide is designed to be completed entirely from the ground and the attic. Shingle condition, flashing condition, granule levels, and attic moisture all show themselves from those two vantage points. If you want an on-roof inspection, call a professional with fall protection and insurance. The risk of a DIY roof walk is not worth the information you’d gain.
Flashing failure around chimneys and dormers. San Antonio homes older than roughly 25 years almost always show some flashing lift or rust, and the freeze-thaw cycle plus summer heat cycling wears the sealant faster than most homeowners expect. The next most common is pipe boot rubber failure, which is purely UV-driven and happens predictably between year 8 and year 12 after installation.
Homeowners insurance typically covers sudden, accidental damage from storms, hail, wind, or falling objects, not routine wear and maintenance. That’s why a documented maintenance log matters. If your roof fails from neglect and then a storm finishes it off, the claim gets messy. If you can show dated photos of gradual granule loss and a clear maintenance history, the storm damage portion of the claim stands on firmer ground; learn more in our guide to Roofing Permits, Codes & Inspections in TX: What You Need to Know. For any repair question, call (361) 209-8857 and we’ll help you think through what’s claimable before you file.
The Bottom Line
Your roof is the largest single system protecting your San Antonio home, and it gives you free warning signs for years before it fails. Granules in the gutters. Cracked rubber around pipe boots. Rusted flashing at the chimney. Stains in the attic that show up months before the ceiling stains. All of it visible from the ground or inside the house, none of it requiring a ladder on the roof. Four 20-minute checks a year, a simple photo log, and the discipline to call when something looks off will push off a replacement for years and keep repair costs in the hundreds instead of the thousands. That’s the entire playbook. It doesn’t cost anything to start, and it costs a lot to ignore.
Written by Dylan Pace, Owner at Crestview Roofing Co San Antonio, serving San Antonio since 2000.
See the difference
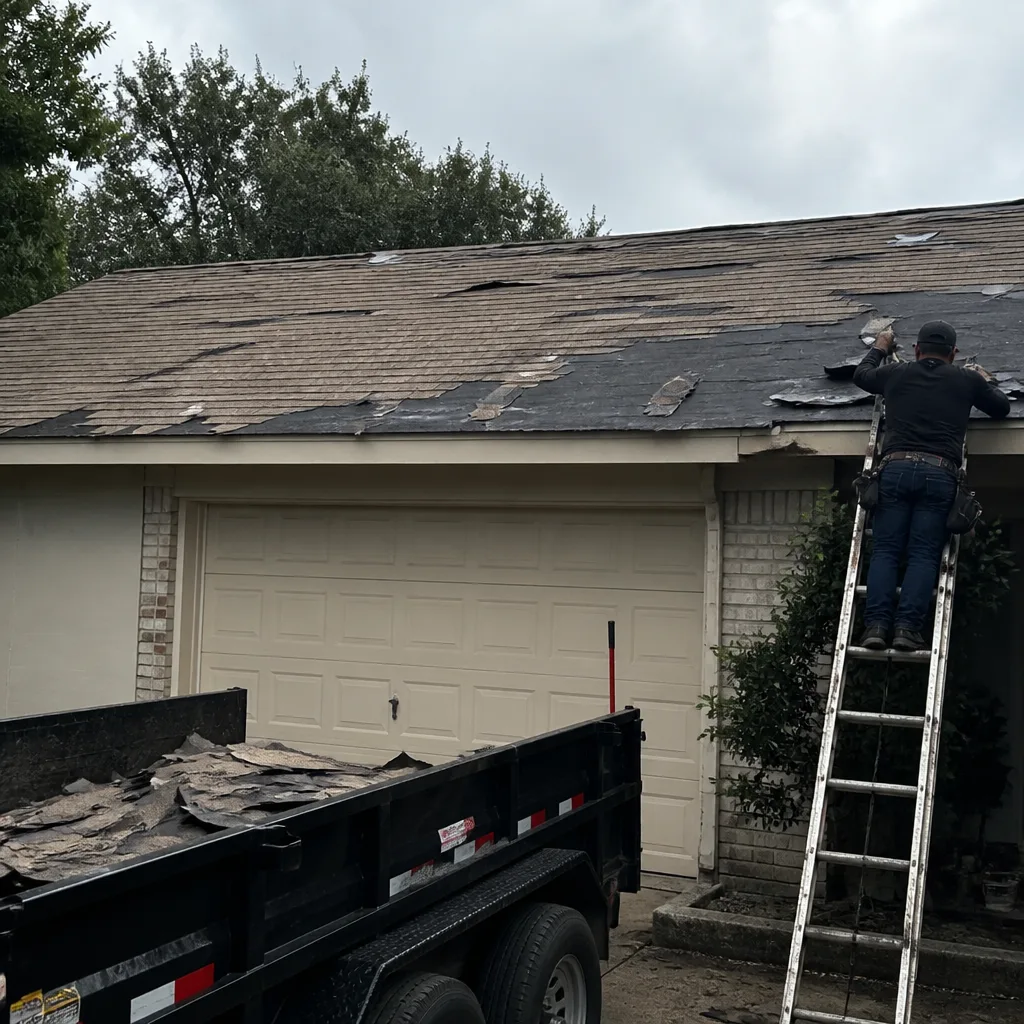 Before
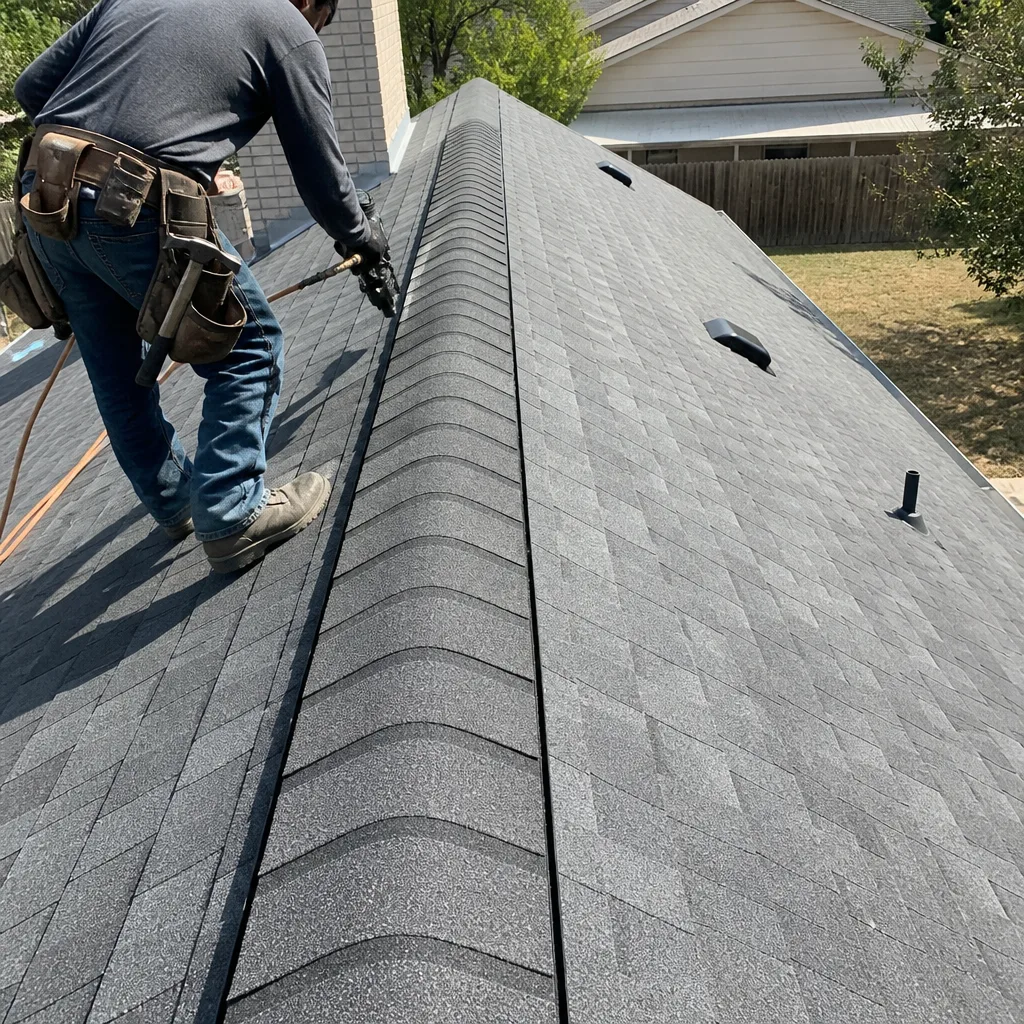
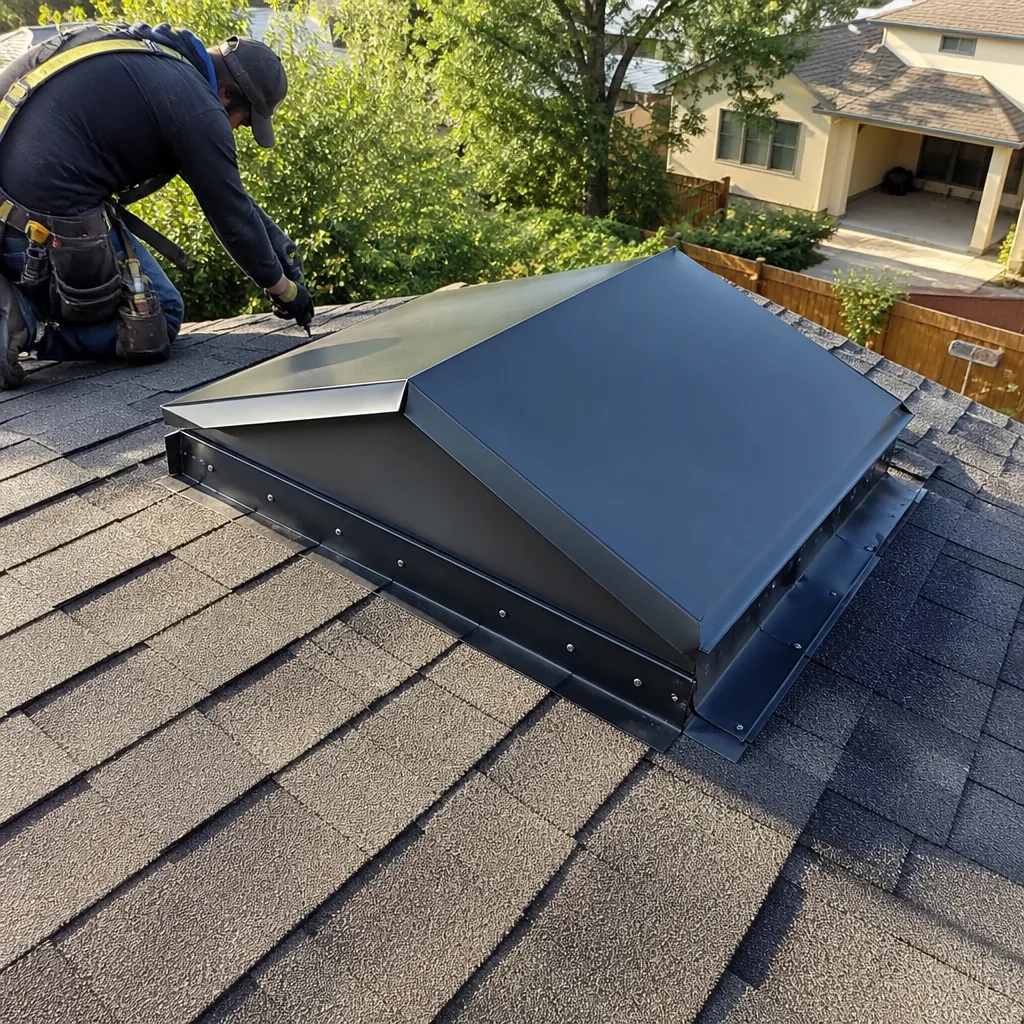 After
After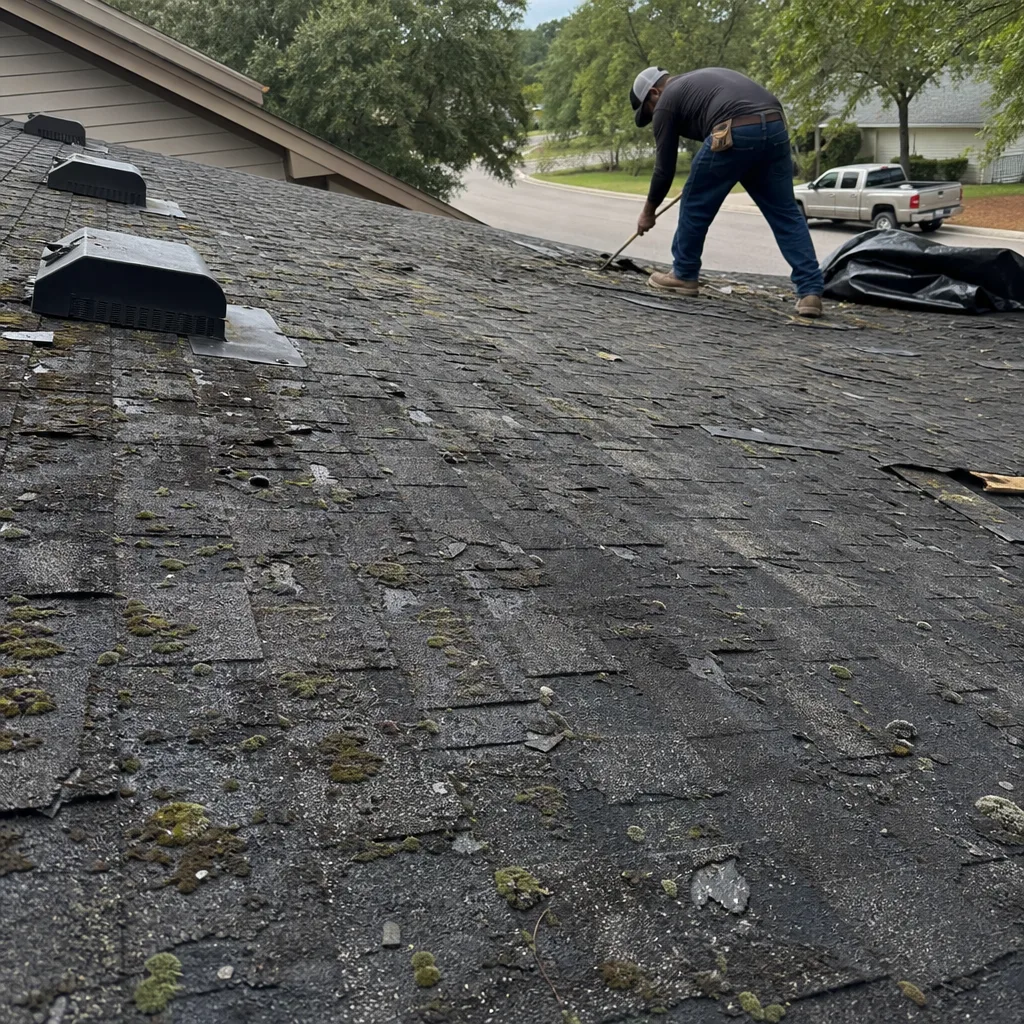 Before
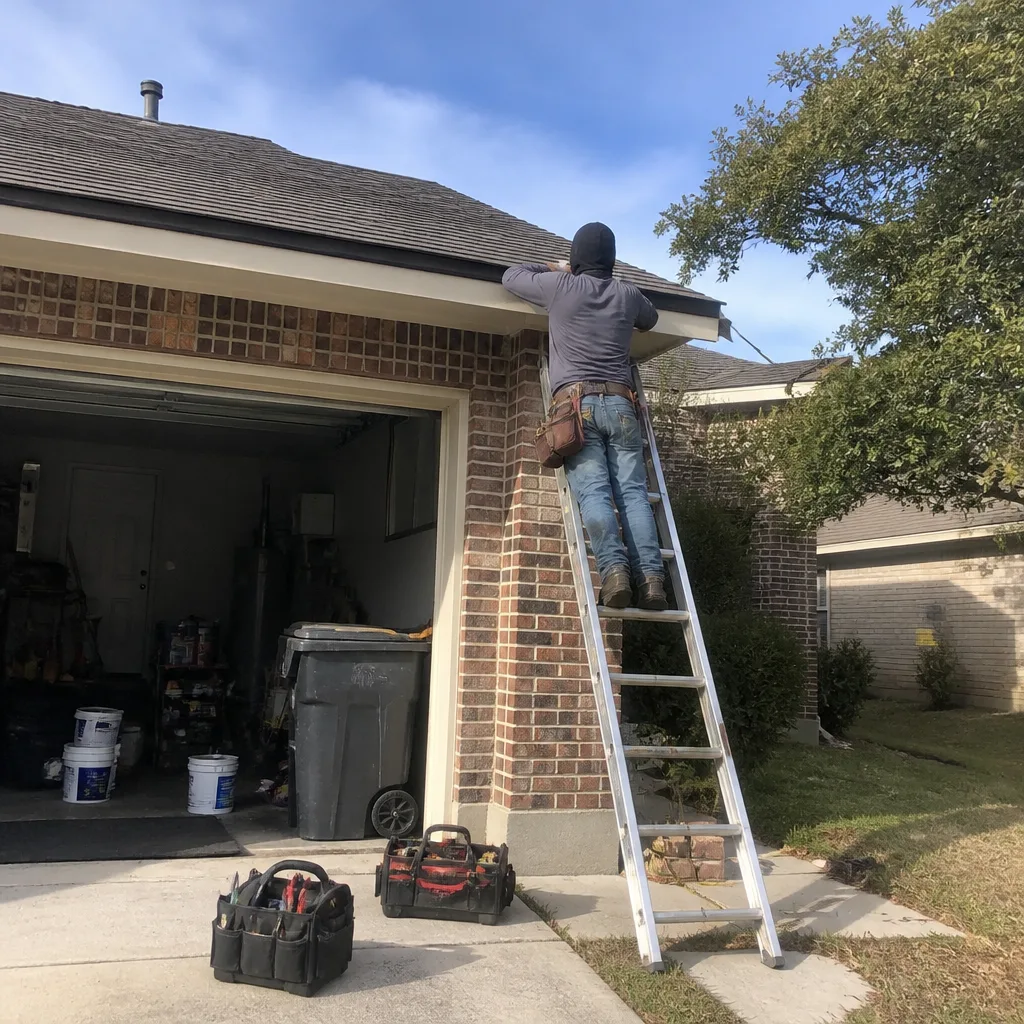 After
After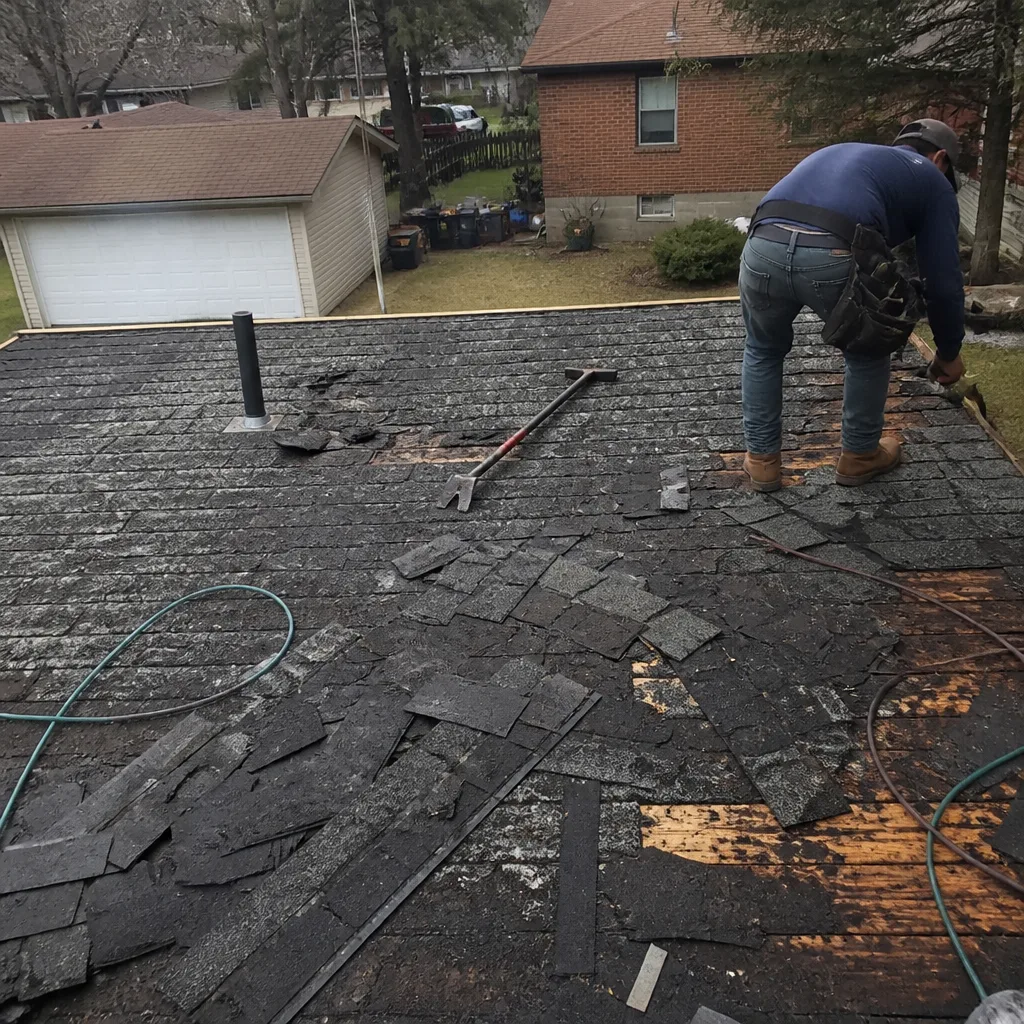 Before
 After
After