
Last updated October 17, 2026
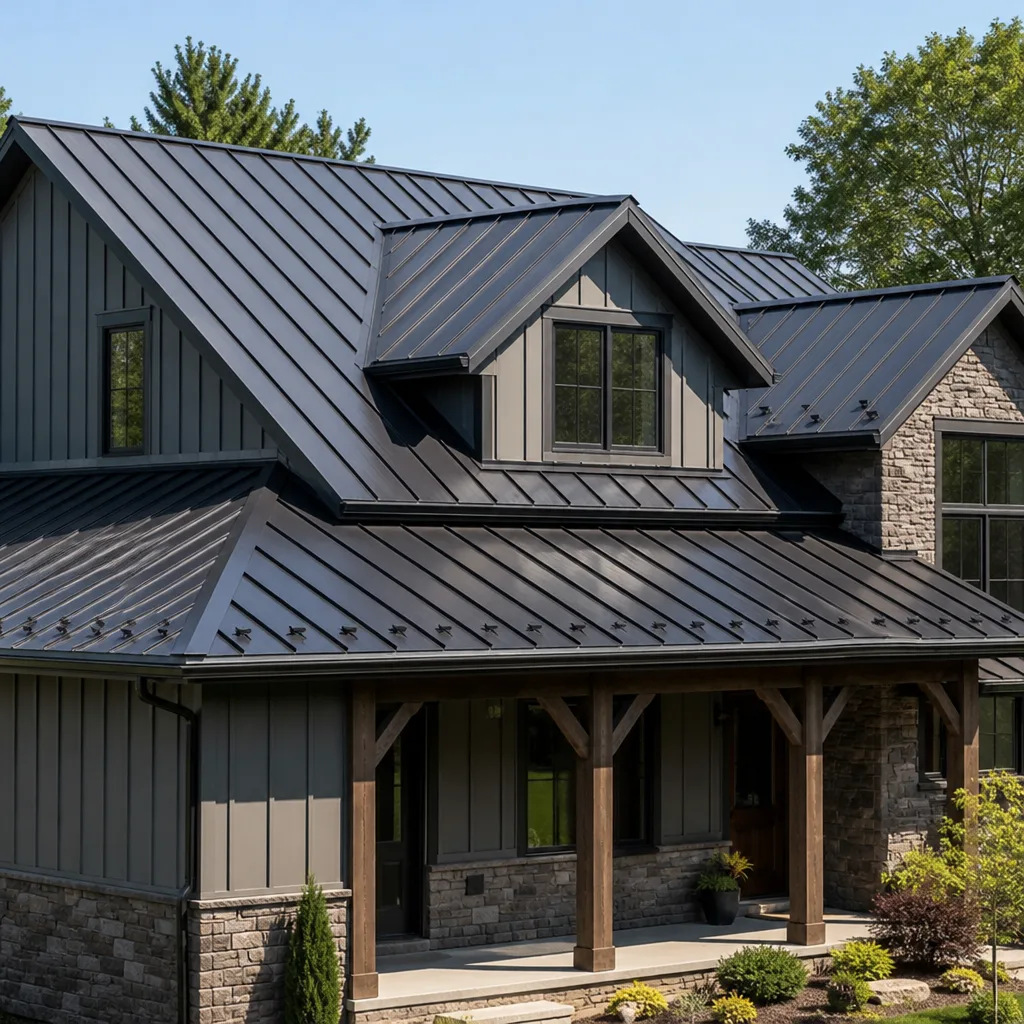 Metal roofing
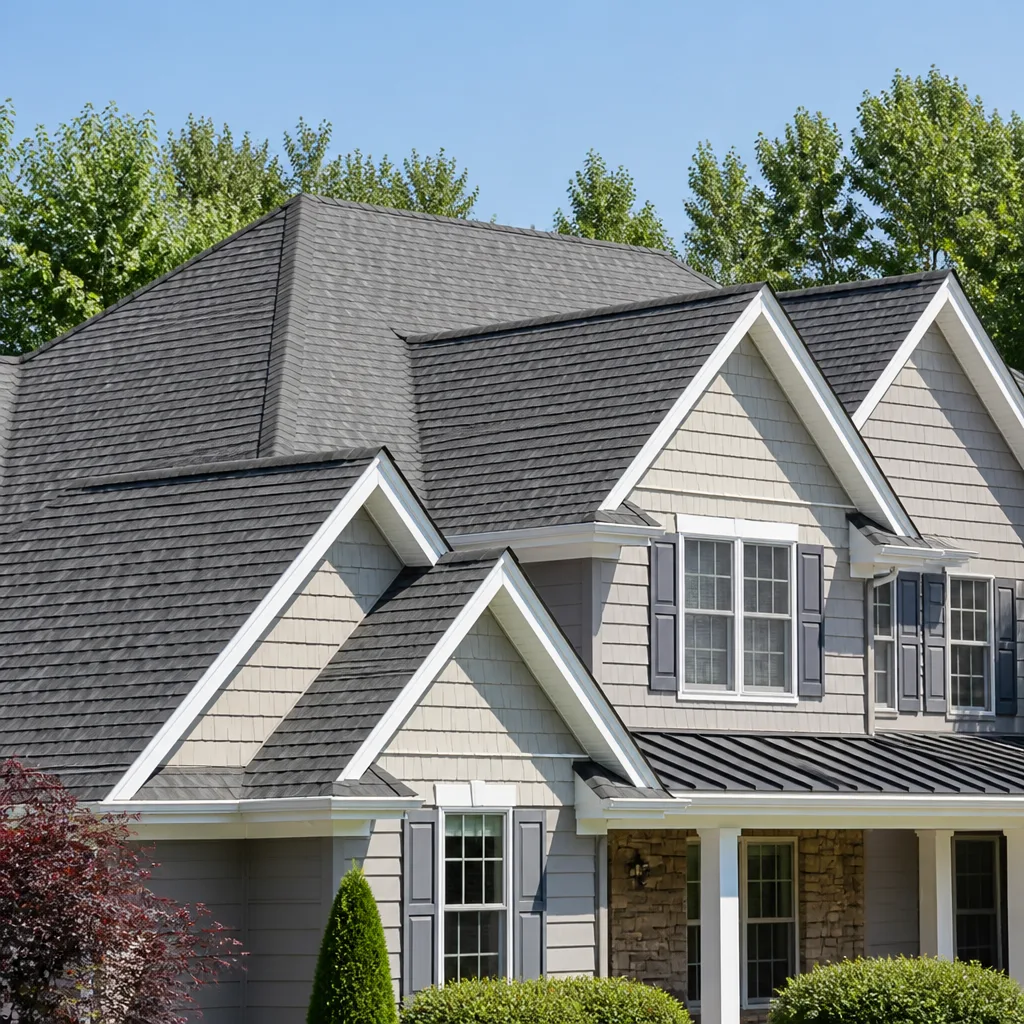 Architectural shingles
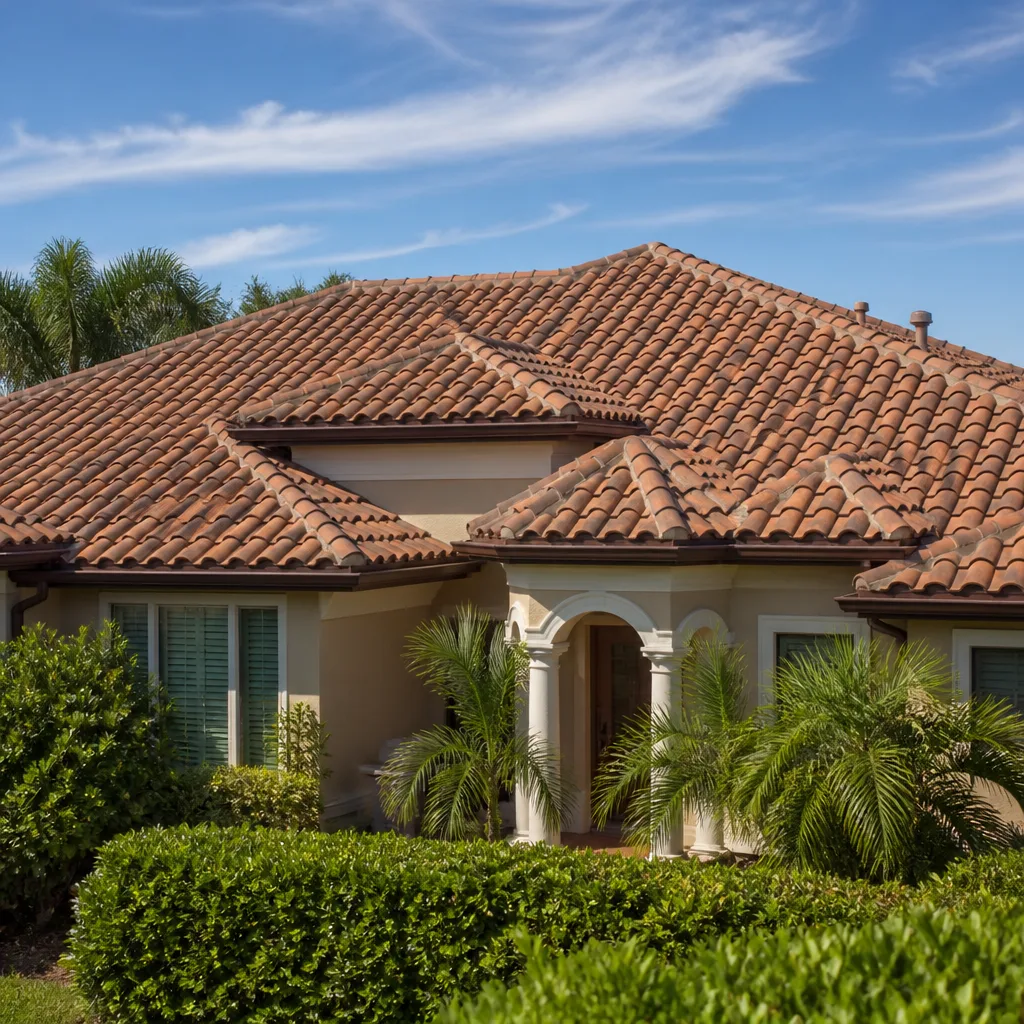 Tile roofing
 GAF
GAF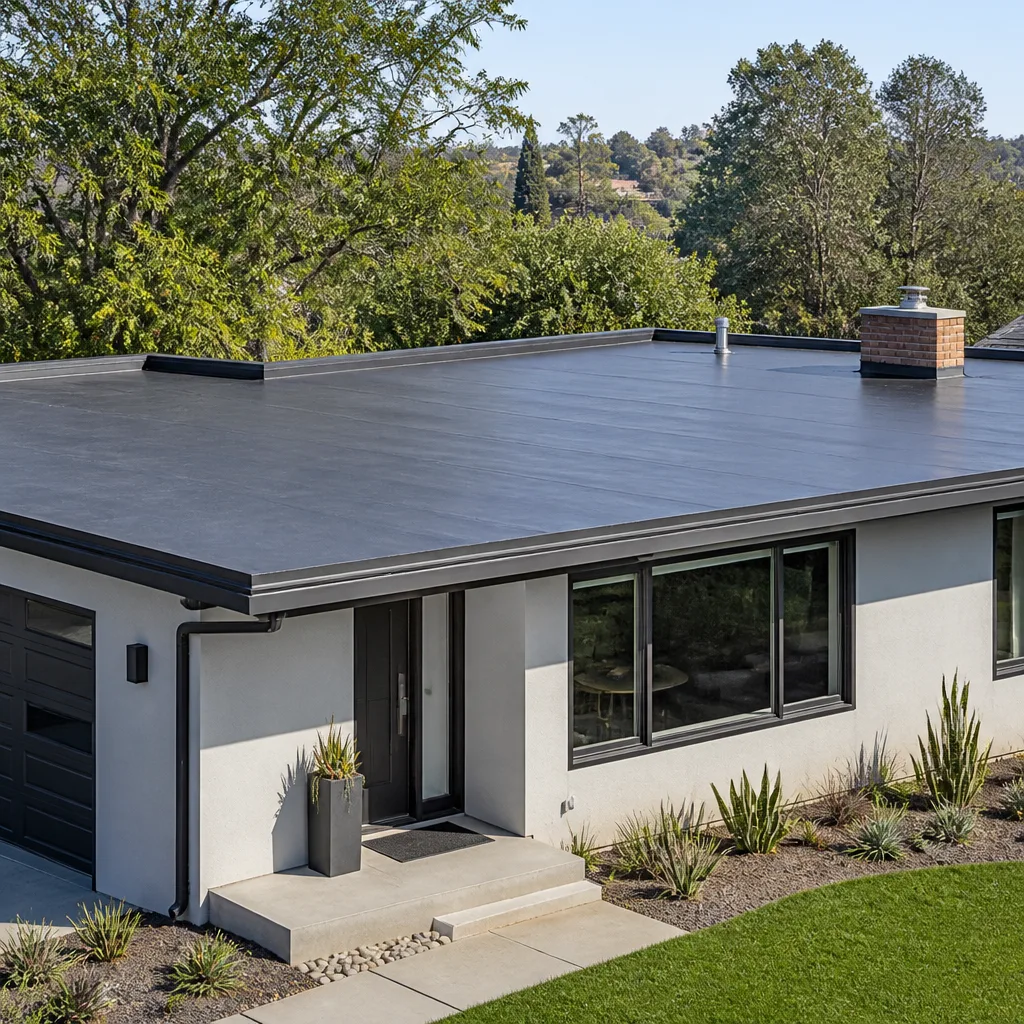 Flat & low-slope
Free roof inspection with deck photos before we talk money - GAF and Owens Corning certified installation
DIY vs Professional Roofing: The San Antonio Homeowner’s Decision Guide
Replacing a handful of shingles on a single-story San Antonio home is legal, learnable, and sometimes perfectly reasonable. Replacing an entire roof without a permit, without manufacturer-certified installation, and without a fall protection plan is a different category of decision – and most DIY roofing guides don’t tell you where that line is. Here’s a counterintuitive starting point for San Antonio homeowners: the shingle itself is usually the cheapest part of the job. What you’re really paying for, whether you do it yourself or hire a pro, is what happens when the material fails six months later during the next Bexar County hailstorm. By the end of this guide, you’ll know exactly which repairs are genuinely DIY-appropriate, which ones will void your warranty the moment your ladder touches the eave, and how to think about the real cost of a mistake at roof height.
Styles & brands we work with
Quick Answer
DIY roofing in San Antonio makes sense for small, single-story, non-structural repairs like replacing a few damaged shingles or resealing exposed nail heads. It becomes a liability problem when you’re dealing with full roof replacement, work around chimneys or skylights, any repair on a second story, or anything that touches manufacturer warranty terms – where a self-installed roof can void coverage entirely regardless of how good the work looks. The deciding factors aren’t really skill or even time: they’re warranty validity, insurance claim documentation, and whether you’re comfortable standing on a 6/12 pitch in 100-degree heat.
Table of Contents
- The San Antonio DIY Decision Matrix: What’s Actually Safe to Fix Yourself
- How DIY Roof Work Affects Manufacturer Warranties (The Fine Print Nobody Reads)
- San Antonio Permits and Inspections: The DIY Rulebook
- The Real Cost Comparison: DIY vs Professional Labor in San Antonio
- Insurance Claims and DIY Roofing: What Texas Adjusters Look For
- San Antonio Climate Factors: Heat, Hail, and What They Do to Roofs
- Step-by-Step: The Only 3 DIY Roofing Tasks We’d Actually Recommend
- Common Mistakes to Avoid
- When to Call a Professional
- Frequently Asked Questions
- The Bottom Line
The San Antonio DIY Decision Matrix: What’s Actually Safe to Fix Yourself
Not every roofing task deserves a contractor’s truck in your driveway. We’ve been on enough San Antonio roofs since 2000 to know that some jobs are genuinely simple – and that homeowners can handle them without compromising their roof’s integrity or their insurance standing. The key is drawing the line in the right place, and the line isn’t where most people think it is. It’s not really about skill. It’s about consequence. A mistake at the peak of a two-story home in Stone Oak costs more than a mistake on a ranch-style home in Jefferson, and not just in dollars.
Here’s the honest framework we use when a neighbor asks us whether they should grab a ladder or grab a phone:
Genuinely DIY-Appropriate Repairs
- Replacing 1-3 loose or torn shingles on a single-story roof – if the roof deck underneath is dry and intact, this is a 30-minute job with basic tools
- Resealing exposed nail heads with roofing cement – San Antonio’s temperature swings pop nails over time; a tube of sealant fixes minor leaks before they start
- Minor flashing reseal around a vent pipe – when the rubber boot cracks but the flashing itself is sound, a patch kit works
- Clearing gutters and downspouts – clogged gutters during San Antonio monsoon season back water under the eave edge, and that’s usually a ladder job, not a roof job
Jobs That Require a Licensed San Antonio Contractor
- Full roof replacement or anything that removes more than 100 square feet of shingles – once you expose the deck, you own the weather risk
- Flashing repair around chimneys, skylights, or roof valleys – flashing, the metal strips that seal joints around chimneys and vents, is where 80% of leaks actually originate, and improper flashing is harder to detect than a missing shingle
- Any repair on a roof with a pitch steeper than 6/12 – beyond that angle, fall protection isn’t optional, and a roofing harness is not a tool you learn from a YouTube video
- Anything involving the roof deck, rafters, or structural framing – wood rot hides beneath shingles, and you won’t know how far it goes until you’re already committed
- Solar panel removal and reinstallation – this voids the solar warranty in most cases and creates electrical hazards that a roofing crew shouldn’t touch either unless they’re trained for it
Dylan Pace, who leads Crestview Roofing Co San Antonio home, puts it plainly: “The roofer you hire should be able to tell you exactly why a job is or isn’t safe to DIY. If they can’t explain the reasoning, they’re either trying to upsell you or they don’t understand the work themselves.” The decision matrix above isn’t a sales script. It’s the same framework we’d hand to a friend in Alamo Heights who asks us over a beer whether they can patch their own roof.
How DIY Roof Work Affects Manufacturer Warranties (The Fine Print Nobody Reads)
Here’s what most San Antonio homeowners don’t learn until after they’ve spent a Saturday on the roof: the warranty on your shingles doesn’t cover the shingles. It covers the installation. Manufacturers like GAF and Owens Corning back their products for 25, 30, even 50 years – but the warranty agreement says the shingles must be installed by a manufacturer-certified contractor. The moment you install them yourself, the warranty is void. Not reduced. Not prorated. Gone.
This matters more in San Antonio than it does in most cities, because Bexar County sits in one of the highest hail-frequency corridors in the country. A roof installed improperly in 2024 looks fine until a 2-inch hailstone finds the weak point in 2026. When you file the insurance claim, the adjuster asks for installation documentation. If the answer is “I installed it myself,” you’re paying for the replacement out of pocket, and the material warranty you thought you had won’t cover a cent.
The specific warranty language varies by manufacturer:
- GAF requires installation by a GAF Certified contractor for their Golden Pledge and Silver Pledge warranties; the basic material warranty covers manufacturing defects only, not installation errors
- CertainTeed offers their strongest warranties only through SELECT ShingleMaster credentialed installers
- Owens Corning ties their extended protection to contractors certified through the Owens Corning Roofing Contractor Network
- Boral stone-coated steel products require manufacturer-trained installers for coverage
What does “voided warranty” actually mean in dollars? In San Antonio’s market, a full roof replacement on a 2,000-square-foot single-story home typically runs $9,000 to $15,000 depending on material choice and tear-off complexity. If your DIY installation fails at year seven and the warranty is void, you eat that full amount. If a certified contractor installed it and the same failure occurs, the labor and material are often covered under the warranty terms. That’s not a small difference. That’s the entire cost of the project.
The exception on warranty-friendly DIY work: small repairs on an existing roof don’t void the original installer’s warranty in most cases, provided you don’t modify the roof structure or replace more than a few shingles. But even then, some manufacturers require that any repair be performed by a certified contractor to maintain coverage. Before you touch a single shingle on a warranted roof, read the fine print. The phone call to your original installer costs $0. The warranty you accidentally void could cost $15,000.
San Antonio Permits and Inspections: The DIY Rulebook
So you’ve decided the repair is DIY-appropriate and your warranty isn’t at risk. Now comes the part most guides skip: San Antonio’s permitting process. The City of San Antonio has specific rules about roofing work, and they apply to homeowners doing their own work just as much as they apply to contractors. The city does not have a separate, easier track for DIY. You pull the same permit, schedule the same inspection, and face the same consequences if the work fails.
Here’s what the City of San Antonio Development Services Department requires, in plain language:
Step 1: Determine if You Need a Permit
Minor repairs – replacing fewer than 100 square feet of shingles or repairing isolated flashing without removing the underlying deck – generally don’t require a permit. Full roof replacements, structural repairs, and anything that removes and reinstalls the roof deck do. If you’re unsure, call Development Services. The person who answers can tell you in two minutes what the code says.
Step 2: Submit the Application
Homeowners can pull their own permits in San Antonio. You’ll need a basic site plan, a description of the scope of work, and the applicable fee. The city moved much of this process online, which means you can complete the application from your phone without visiting the One Stop Center on South Alamo Street. The permit fee for a typical residential roofing job in San Antonio runs between $150 and $400 depending on the project valuation.
Step 3: Schedule the Inspection
After the work is complete, you schedule an inspection through the city’s online portal or by phone. The inspector checks that the installation complies with the International Residential Code and San Antonio’s local amendments – including the required underlayment type for San Antonio’s wind zone and proper nail spacing for the shingle grade. If the inspection fails, you fix the problem and pay for a re-inspection. There’s no second chance that’s free.
Step 4: Pass and Document
Once the inspection passes, keep the documentation on file. This is the proof you’ll need if you file an insurance claim later and the adjuster asks whether the work met code. It’s also what you’ll show a future buyer if you sell the home within the warranty period.
Some San Antonio neighborhoods with historic district designations – Monticello Park, parts of King William, and others – have additional review requirements for roof materials and colors. The city’s Historic and Design Review Commission can require that replacement shingles match the original style, which limits your choices and means you need written approval before buying materials. A contractor who works regularly in those districts knows what’s approvable. A homeowner buying shingles at a big-box store usually doesn’t, and that’s how a $200 permit becomes a $1,200 material do-over.
The Real Cost Comparison: DIY vs Professional Labor in San Antonio
Let’s get into specific numbers, because “it’s cheaper to do it yourself” is only true if you ignore everything that can go wrong. For a detailed roofing cost breakdown for San Antonio homeowners in 2026, here’s a realistic breakdown for three common scenarios using current material pricing in the San Antonio market and typical contractor rates here.
Scenario 1: Replacing 5 Torn Shingles on a Single-Story Home
- DIY materials: A bundle of matching shingles ($35-$55), roofing nails ($10), roofing cement tube ($8), gloves ($12). Total: $65-$85. Time: 1-2 hours.
- Professional repair: Most San Antonio roofers charge a minimum service call of $250-$450 for small repairs because the cost isn’t the material – it’s the truck, the fuel, the insurance, and the labor hour. Total: $250-$450.
- Verdict: DIY genuinely wins here, if the roof is single-story and you’re comfortable on a ladder. The savings are real and the risk is low.
Scenario 2: Re-flashing a Chimney on a Two-Story Home
- DIY materials: Flashing metal ($60-$120), roofing cement ($10), ladder rental ($45-$75 for a 28-foot ladder), safety harness if you’re doing it right ($80-$120). Total: $195-$325. Time: One full day, minimum.
- Professional repair: Chimney re-flashing in San Antonio runs $650-$1,400 depending on access difficulty and whether the old flashing needs to be cut out. Total: $650-$1,400.
- Verdict: The DIY savings look real on paper, but this is where installers earn their pay. Incorrect flashing is the leading cause of chimney leaks, and the fix for a botched flashing job usually costs more than the original repair would have. Plus, you’re now working at the intersection of roof slope and second-story height, where a fall changes the math permanently.
Scenario 3: Full Roof Replacement on a 2,000-Square-Foot Home
- DIY materials: 30-year architectural shingles ($120-$160 per square, so $2,400-$3,200 for 20 squares), underlayment ($300-$500), nails and fasteners ($150-$250), dumpster rental ($350-$500), tool rental including nail guns and compressor ($200-$350 for the week), permit ($200-$400). Total: $3,600-$5,200 in hard costs. Time: 4-7 days of hard labor, assuming no rain delays and no hidden deck damage.
- Professional replacement: Full tear-off and replacement in San Antonio for a 20-square home runs $9,500-$15,000 depending on material grade and structural condition. This includes the permits, the insurance, the crew, the disposal, and the warranty.
- Verdict: DIY saves $5,000-$10,000 in cash. But the risk-adjusted cost is a different number. If you miss a soft spot in the deck and the roof fails in two years, you’re paying for a second full replacement. If you install the shingles incorrectly and they blow off in a spring storm, the insurance adjuster will look for installation error – and if they find it, the claim is denied. When we do a Roof Replacement in San Antonio, our written price covers the work, the disposal, the permit, and the 365-day Done Right Promise. The money you save doing it yourself is the exact money you’re betting against a mistake.
Insurance Claims and DIY Roofing: What Texas Adjusters Look For
Texas is a unique insurance market, and San Antonio sits in a unique part of it. Bexar County homeowners file roughly 30,000 hail-related roof claims in an average storm year, and insurance companies have spent the last decade tightening how they review those claims. The era of the generous adjuster is over. Every claim is scrutinized, and the documentation trail matters as much as the damage itself.
Here’s what adjusters look for when you file a roof claim in Texas, and how DIY work affects each factor:
Installation Records
When an adjuster assesses hail damage, they’re not just counting dents in shingles. They’re checking whether the roof was installed to the standard that gives the shingles their rated impact resistance. If the installation was done by a manufacturer-certified roofer, that’s verifiable. If you installed it yourself and can show the permit and passed inspection, that’s still evidence of code compliance – but it doesn’t prove manufacturer installation standards were met. The distinction matters in a disputed claim.
Prior Repair Documentation
If you did DIY repairs before the storm – say, you replaced 10 shingles after a wind event last spring – and then a hailstorm hits, the adjuster will look at those repairs. Were they done with matching materials? Were they sealed and nailed correctly? A DIY patch that lifted or leaked will be flagged as a pre-existing condition, and the insurer may deny coverage for any damage they can attribute to the failed repair. Document every DIY repair with photos before, during, and after, and keep receipts for materials. That documentation is your only defense if the adjuster tries to link your repair to a new leak.
The Claim Itself
Here’s the uncomfortable truth: insurance companies look more favorably on claims documented by a professional roofer. When we inspect a San Antonio roof, we document every square of damage with photos that show the exact location, the extent of the damage, and the condition of the surrounding roof. That documentation becomes part of your claim file. A homeowner with a smartphone can document damage, but a homeowner with a smartphone cannot write a roofing damage report that a claims adjuster reads as authoritative. The gap matters in disputed claims, and disputed claims are increasingly common in Bexar County.
If you’re going to DIY and you know insurance will be involved later, do this: photograph everything before you touch anything, save every material receipt, and if the repair is more than a few shingles, get a professional inspection after the fact. The $200 to $400 for a post-repair inspection is cheap insurance against a denied claim.
San Antonio Climate Factors: Heat, Hail, and What They Do to Roofs
San Antonio’s roofing challenges are specific, and they’re not the same as Houston’s humidity or Dallas’s freeze cycles. This city bakes. We average over 220 days of sun per year, with summer roof surface temperatures regularly exceeding 160 degrees. That heat doesn’t just make the work uncomfortable – it changes the material behavior on every roof in the city.
Asphalt shingles in San Antonio fail differently than they do in cooler climates. The heat accelerates granule loss, which is why you’ll see thin, balding shingles on a 15-year-old San Antonio roof that would still look full at 15 years in Ohio. The UV exposure breaks down the asphalt layer, which makes shingles brittle. A brittle shingle doesn’t flex under foot traffic – it cracks. That’s why a homeowner walking a San Antonio roof in August can cause more damage than a spring hailstorm.
And then there’s the hail. San Antonio sits in what insurance companies call Hail Alley. The spring storm system that rolls through Bexar County between March and June can drop hail from pea-sized up to 4 inches, and the damage from a 2-inch stone at terminal velocity is not subtle. Hail impact knocks granules loose at the point of impact, and that granule loss exposes the asphalt beneath to the San Antonio sun. The damage compounds: a hail-dented roof that might last another five years in a cooler climate will fail in two here because the heat works through the exposed areas faster.
For the DIY question, climate matters in two ways. First, if you’re repairing shingles yourself, use San Antonio-appropriate materials – impact-rated shingles like the Class 4 products from Owens Corning or GAF that are built for hail country. The big-box store may stock cheaper three-tab shingles that are legal but not smart here. Second, be realistic about working conditions. A roof at 160 degrees through July and August is not a weekend project. Heat exhaustion is a real risk, and the ladder is no place to discover you’re overheated.
The professional crews working in San Antonio through the summer start at dawn and are off the roof by early afternoon. That schedule exists because a heat stroke on a job site is not a hypothetical. If you’re doing DIY roof work in the summer, plan for a 6 a.m. start and finish before noon. The sun doesn’t negotiate.
Step-by-Step: The Only 3 DIY Roofing Tasks We’d Actually Recommend
If the decision matrix above cleared you for DIY, here’s how to do the work correctly. These instructions assume a single-story roof with a walkable pitch and basic hand tools. If any step here doesn’t make sense to you as you read it, stop and call a roofer. This isn’t the place to learn by trial and error.
Task 1: Replacing a Torn or Missing Shingle
- Safety first: Set your ladder on level ground, extend it at least 3 feet above the eave, and tie it off if possible. Work in the morning when the roof is cool.
- Lift the damaged shingle: Use a flat pry bar to gently lift the shingle above the damaged one. You’ll see the roofing nails holding the damaged shingle in place.
- Remove the nails: Pull the nails with the pry bar, working slowly so you don’t crack the surrounding shingles. Remove the damaged shingle.
- Slide the replacement in: Position the new shingle so it aligns with the surrounding course, then nail it with six roofing nails – four across the bottom edge and two near the top, placed beneath the overlapping shingle to hide them.
- Seal it: Apply a small dab of roofing cement under the shingle’s top edge to hold it down, then press firmly. Clean any excess cement from the surface.
- Document it: Take a photo of the finished repair. If you file an insurance claim later, that photo is your proof the repair predated the storm damage.
Task 2: Resealing a Vent Pipe Boot
- Inspect the boot: The rubber boot around a plumbing vent pipe cracks after 8-12 years of San Antonio sun. If the crack is small, you can seal it. If it’s split through, replace the boot.
- Clean the area: Brush away debris and wipe the rubber boot with a dry rag. The sealant won’t stick to dust or moisture.
- Apply lap sealant: Run a bead of roofing lap sealant along every crack and seam in the boot. Press the sealant into the cracks so it fills the gaps, not just covers them.
- Cover the nail heads: If the metal base of the boot is nailed to the roof, cover each nail head with sealant. Exposed nails are a standing invitation for leaks.
- Check the surrounding shingles: While you’re up there, look for cracked or curling shingles around the pipe. A leak that starts at the boot will damage the shingles below it.
Task 3: Clearing and Resealing Gutters
- Set the ladder at the corner of the gutter run: Never rest the ladder against the gutter itself. Use a ladder standoff or position it against the fascia board.
- Remove debris by hand: Scoop leaves and sediment into a bucket. Don’t flush it down the downspout – the clog just moves to the underground drain.
- Flush the channel: Run a hose from the far end toward the downspout. Water should flow freely. If it backs up, there’s a clog in the downspout or the underground line.
- Check the seams: Gutter joints leak where the sealant has degraded. Apply a gutter-specific sealant to any seam that shows water staining or rust.
- Check the eave edge: Look under the bottom row of shingles for water staining. If the gutter has been overflowing, the fascia and the roof deck have been getting wet, and that’s a problem that goes beyond the gutter itself.
These three tasks cover about 90% of the legitimate DIY roofing work in San Antonio. If your issue is anything beyond these – sagging deck, wind-lifted shingles across a whole slope, leaks that appear after every rain regardless of gutter condition – you’re past the DIY threshold. For full Roof Installation in San Antonio, the permitting and warranty considerations tip the balance firmly toward professional work.
Common Mistakes to Avoid
- Working on a hot roof in San Antonio summer without water or shade. Roof surface temperatures exceed 150 degrees from June through September. Heat exhaustion sets in faster than most people expect, and a dizzy spell on a ladder is not survivable at roof height. Plan for early morning work and stop before 11 a.m. in summer.
- Using the wrong nails. Roofing nails are galvanized and specifically sized for shingle thickness. Standard construction nails will rust, back out, and create leaks within two years. The nail matters as much as the shingle.
- Mismatching shingle colors and styles. A patch that doesn’t match looks like exactly what it is: an amateur repair. But the bigger problem is material compatibility – some architectural shingles won’t seal properly against a different manufacturer’s shingle, which leaves the patch vulnerable to wind lift.
- Skipping the underlayment. On any repair larger than a few shingles, the underlayment matters. San Antonio’s wind-driven rain needs a proper moisture barrier. A missing or torn underlayment under your new shingles will leak even when the shingles look perfect.
- Not documenting before-and-after conditions. If you ever file an insurance claim, the adjuster will ask what the roof looked like before the storm. Photos from your DIY project are the only evidence you’ll have. No photos, no defense.
- Treating roof pitch like a preference, not a limit. A 4/12 pitch is walkable. A 7/12 pitch is not. A 10/12 pitch is “call someone with fall protection equipment” territory. The roof doesn’t care how confident you feel – the angle is the angle, and the fall is the fall.
- Pulling a permit and then skipping the inspection. A permit without a passed inspection is worse than no permit at all. You’ve told the city you’re doing the work, and if it fails later, the record shows you never completed the process. That’s the first thing an insurance company or a future buyer’s inspector will find.
When to Call a Professional
Some roofing situations in San Antonio don’t leave room for the DIY question. If you’ve got water staining on your ceiling, that means water has already passed through the shingles, the underlayment, and the deck – and you can’t see the full extent of the damage from the top or the bottom. If a storm has lifted shingles across an entire slope, the roof needs a full inspection, not a patch. If your roof is over 15 years old and the granules are washing into your gutters, you’re looking at replacement, not repair. And if you’ve got a two-story home or a steep pitch, the fall risk outweighs any money you’d save. Crestview Roofing Co San Antonio offers Roof Repair in San Antonio with free estimates called in to (361) 209-8857 – and whether you hire us or not, we’d rather you call and ask than take a risk you can’t undo.
Frequently Asked Questions
No permit is required in San Antonio for minor repairs that replace fewer than 100 square feet of shingles, provided the roof deck is not modified. Full roof replacement or any structural work requires a permit, even when a homeowner does the work themselves. The inspection process is the same for DIY and contractor work, and a failed inspection requires a paid re-inspection.
Yes, in most cases. A full roof installed by a homeowner voids the manufacturer’s warranty entirely, regardless of workmanship quality. Repairs on an existing warranted roof may also void coverage if the manufacturer requires certified contractors for all work. If warranty coverage matters to you, call the manufacturer before doing any DIY work and ask their policy on homeowner repairs in writing. Or call us at (361) 209-8857 and we’ll explain what your warranty covers.
A full roof replacement for a typical 2,000-square-foot single-story San Antonio home runs between $9,500 and $15,000 depending on material choice, roof pitch, and structural condition. That includes tear-off, disposal, underlayment, shingles, permitting, and warranty. More complex roofs with steep pitches or multiple chimneys can exceed that range. Every Crestview Roofing Co San Antonio job includes a written price before work begins, so you know the number before you commit.
Improperly installed flashing around a chimney or skylight is the most expensive DIY mistake because it fails slowly and silently. Water leaks through the flashing gap, rots the deck and framing, and by the time you see a ceiling stain, you’re paying for structural repair, mold remediation, and a full roof section. The original professional flashing repair would have been a $650-$1,400 job. The remediation is often $5,000 or more.
Homeowners insurance covers storm damage to any roof, regardless of who previously repaired it, as long as the prior work met code and didn’t contribute to the damage. If the DIY repair failed and allowed additional water damage before the storm, the insurer can deny the portion of the claim related to that failure. Document every DIY repair with photos and receipts so you can prove compliance if a claim is challenged.
Legally, yes – the City of San Antonio allows homeowners to pull their own roofing permits and complete their own roof replacement. Practically, most homeowners underestimate the physical difficulty, the time required, and the cost of tool rental and disposal. And even a perfect DIY installation won’t carry a manufacturer warranty. For a full Roof Replacement in San Antonio, the warranty and insurance documentation usually justify the professional cost.
The Bottom Line
DIY roofing in San Antonio is not a question of whether you can learn the skill. It’s a question of whether the consequences of a mistake justify the savings. A few torn shingles on a single-story home? That’s a legitimate Saturday project. A full roof replacement, chimney flashing, or any work on a steep pitch? That’s a warranty, insurance, and safety decision dressed up as a home improvement project. The line between the two categories is not where most guides draw it, and it certainly isn’t where the big-box store’s DIY brochures put it, though our more guides & resources can help you decide which side you’re on. It’s drawn by the fine print in your warranty, the code in your permit office, and the physics of a 160-degree roof surface. If you’re ever unsure which side of the line you’re on, call (361) 209-8857 and ask. A straight answer costs less than a straight fall.
Written by Dylan Pace, Owner at Crestview Roofing Co San Antonio, serving San Antonio since 2000.
See the difference
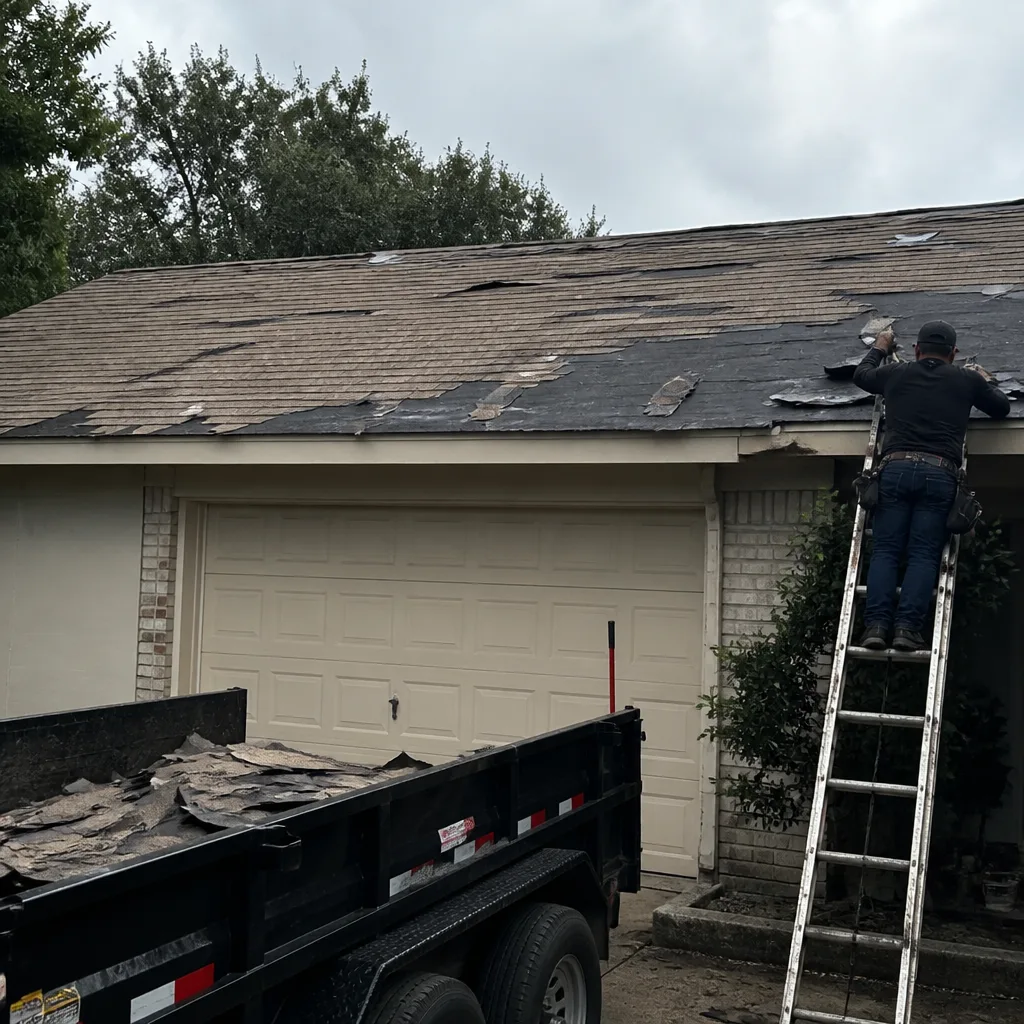 Before
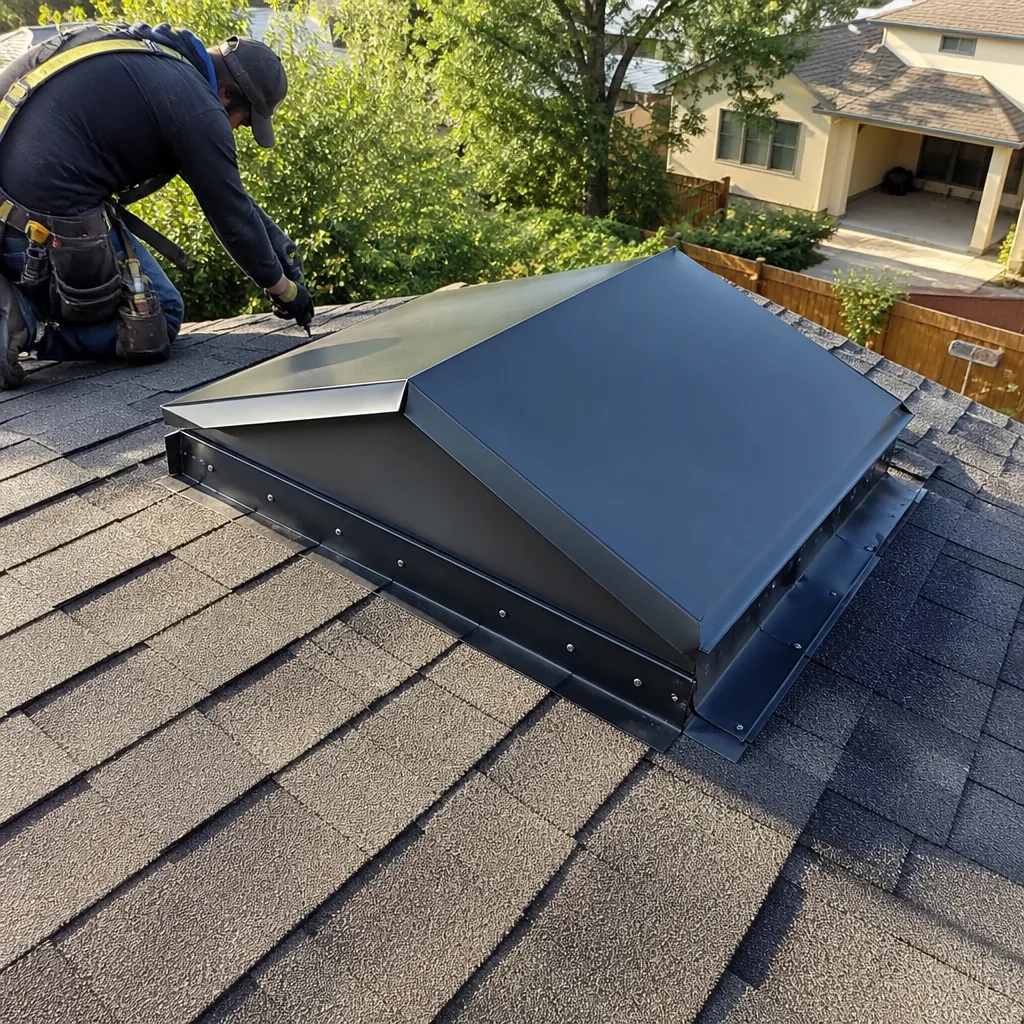 After
After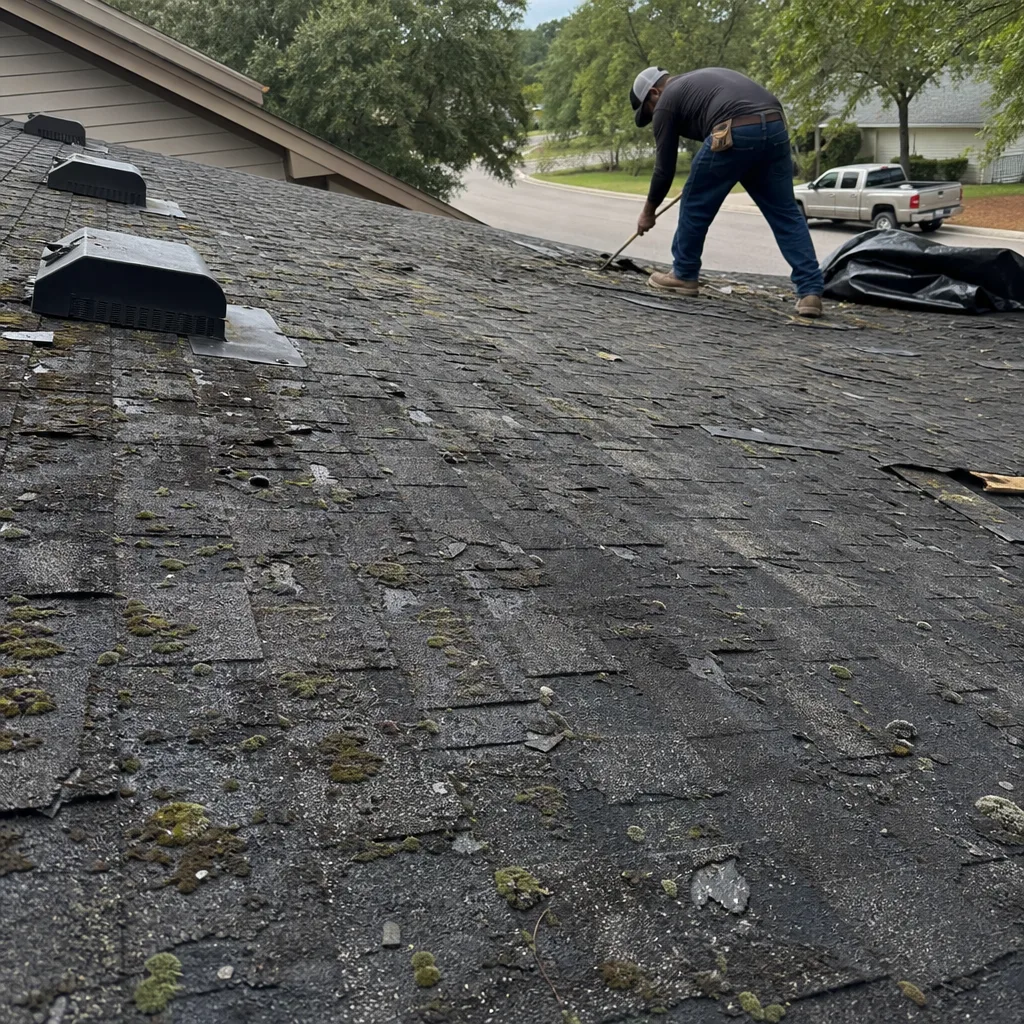 Before
 After
After Before
 After
After